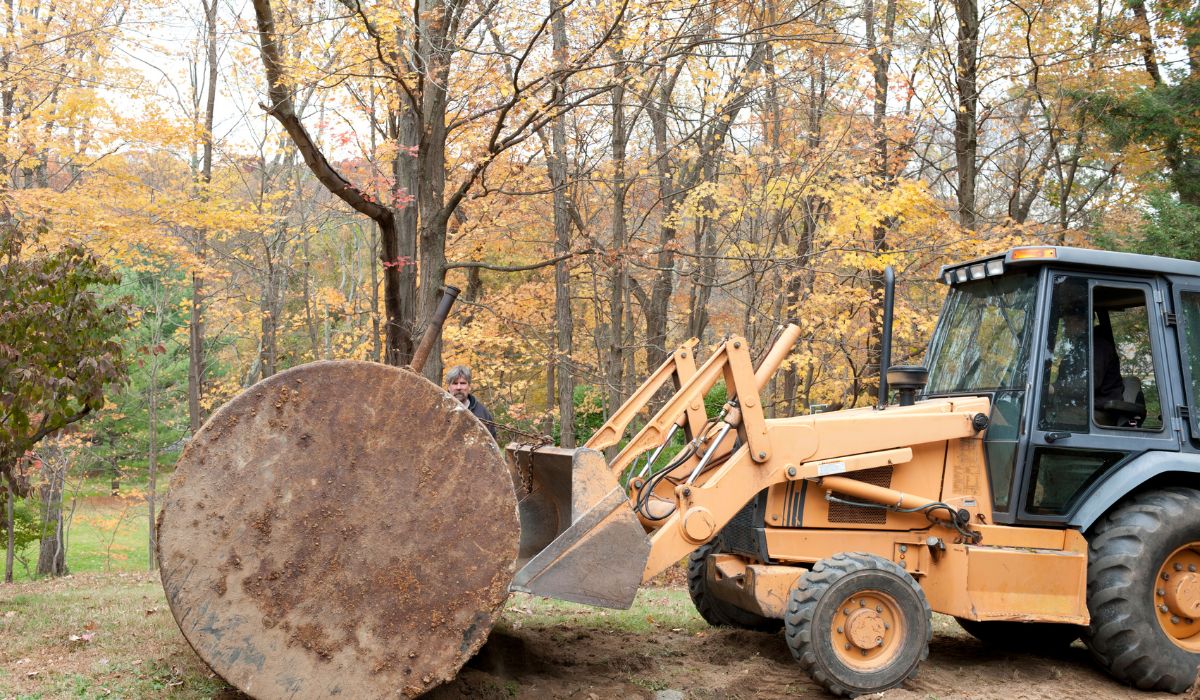
Underground oil tanks have been widely used for decades to store heating oil for residential and commercial properties. However, as environmental awareness grows and tanks age, managing these systems has become a critical concern. Whether you’re a homeowner or a property manager, understanding the process from inspection to removal is essential to ensure safety, compliance, and environmental protection.
Step 1: Initial Inspection
The first step in managing an underground oil tank is a thorough inspection. This involves checking for:
Visible Signs of Leaks: Look for oil stains or dead vegetation near the tank’s location.
Structural Integrity: Inspect the area for signs of rust, corrosion, or damage to the tank’s casing.
Oil Usage Patterns: Sudden spikes in oil consumption could indicate a leak.
Professionals often use advanced tools such as soil testing and ultrasonic equipment to detect leaks and assess the tank’s condition.
Step 2: Understanding Regulations
Every region has specific regulations governing underground oil tanks. These rules outline inspection requirements, environmental standards, and removal protocols.
Permits: Before removal, you’ll likely need a permit from your local municipality.
Compliance: Ensure your tank meets state and federal environmental safety standards to avoid fines.
Researching or consulting with professionals familiar with local regulations is crucial.
Step 3: Decision: Repair or Remove?
After the inspection, decide whether to repair or remove the tank. If the tank is in good condition and minor repairs can make it safe, opting for repairs may be a sensible choice. However, older tanks or those showing significant damage are better off removed to prevent future issues.
Step 4: Preparing for Removal
If removal is the best course of action, preparation is key:
Drain the Tank: Remove any remaining oil and sludge from the tank to prevent spills during excavation.
Hire Licensed Professionals: Work with a certified oil tank removal company to handle the process safely and efficiently.
Notify Authorities: Inform local environmental or safety authorities as required by regulations.
Step 5: Safe Removal Process
The removal process typically involves:
Excavation: Digging around the tank to expose it fully.
Cleaning: Cleaning the interior of the tank to eliminate residue.
Extraction: Carefully lifting and removing the tank from the ground.
Soil Testing: Testing the surrounding soil for contamination.
If contamination is detected, additional cleanup measures like soil remediation may be required.
Step 6: Post-Removal Cleanup and Documentation
After the tank is removed:
Fill the Excavation Site: Backfill the hole with soil or other approved materials.
Dispose of the Tank: Ensure the tank and any contaminated materials are disposed of according to environmental regulations.
Obtain Documentation: Keep records of the removal, including permits, soil testing results, and disposal receipts, for future reference or property sales.
Benefits of Proactive Management
Managing your underground oil tank proactively offers several advantages:
Environmental Protection: Prevent leaks that can harm soil and groundwater.
Cost Savings: Avoid costly fines and remediation expenses by addressing issues early.
Property Value: A well-maintained or properly removed tank increases your property’s marketability.
Conclusion
From inspection to removal, managing an underground oil tank requires careful planning and professional expertise. Whether you’re ensuring compliance with regulations or protecting the environment, taking these steps will help you handle the process smoothly and responsibly. For best results, always work with Simple Tank Services who can guide you through every stage of the process.

